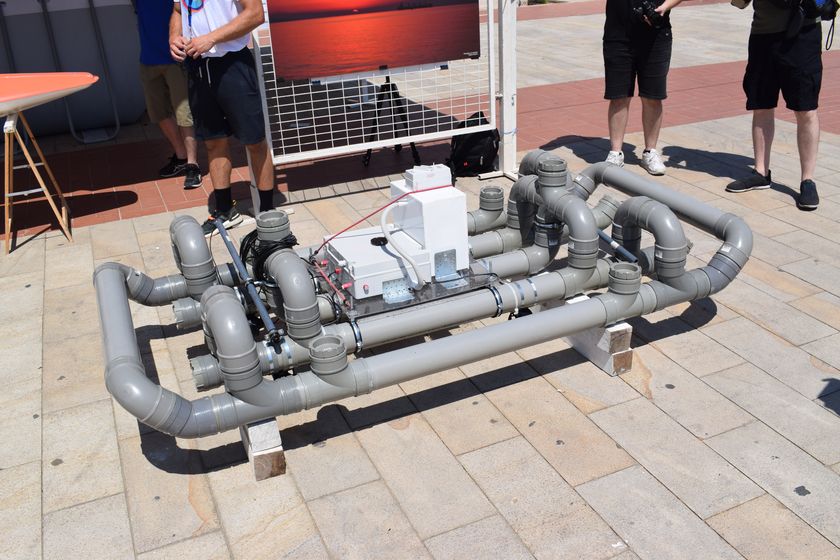
In September 2024 AI Zerocaliber Ltd launched its second-generation power management solution. The product addresses applications for remote sensing, buoys, USVs and other IoT long-term operations that require energy surveillance, conservation or power switching.

Currently, the first generation of our power management products serve in USVs and Buoys in Cyprus for more than two years, supporting the local research community.
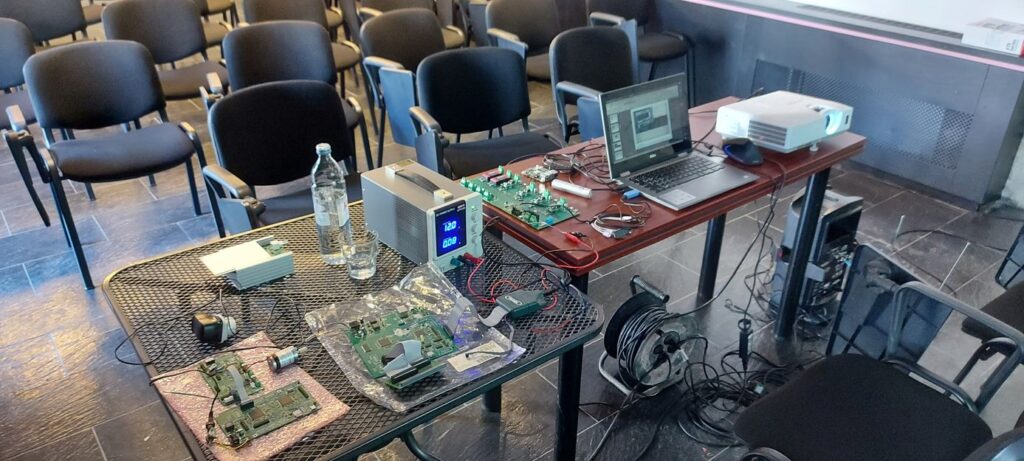
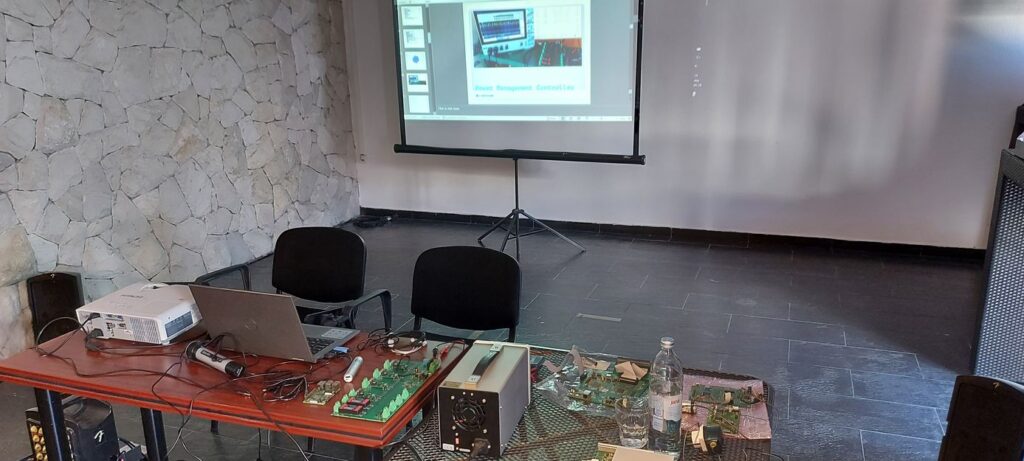
The second generation of the product was demonstrated at Breaking the Surface conference (BtS 2024) this September, where researchers and industry experts had the opportunity to evaluate its potential in respect to robotics and marine applications.

The demonstration showcased our product, and an example web-based dashboard was presented. Discussions were held about its capabilities and configuration options with potential users. The product will be available for orders from February of 2025. Please contact us for more information and details. We will be happy to discuss your needs and provide a solution tailored to your specific application.

You may see the product page for more details: Power Management V2 – AI ZeroCaliber LTD