This article is a continuation of the previous article on Creating a Smart Hydrophone Processing System – Hardware
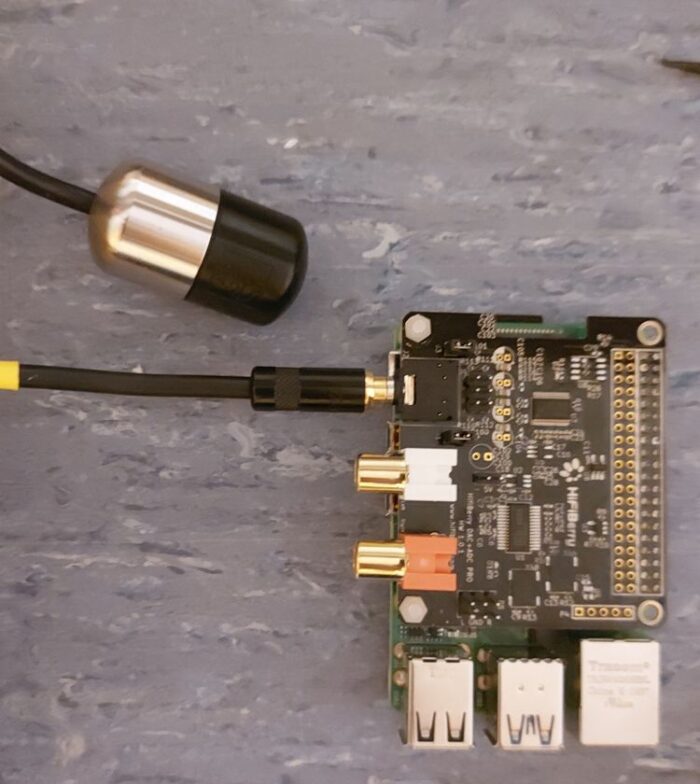
It is assumed that you have already setup the Raspberry Pi to have remote desktop and SSH agents active. I also have setup my network to assign a specific IP to this device both for wired or wireless operation. It is also assumed that you already installed git or any other tools you require for development. We used the default Raspbian Linux. Login in with SSH should present something similar as the next picture. Of course, you may use a remote desktop environment; select which best fits your taste.
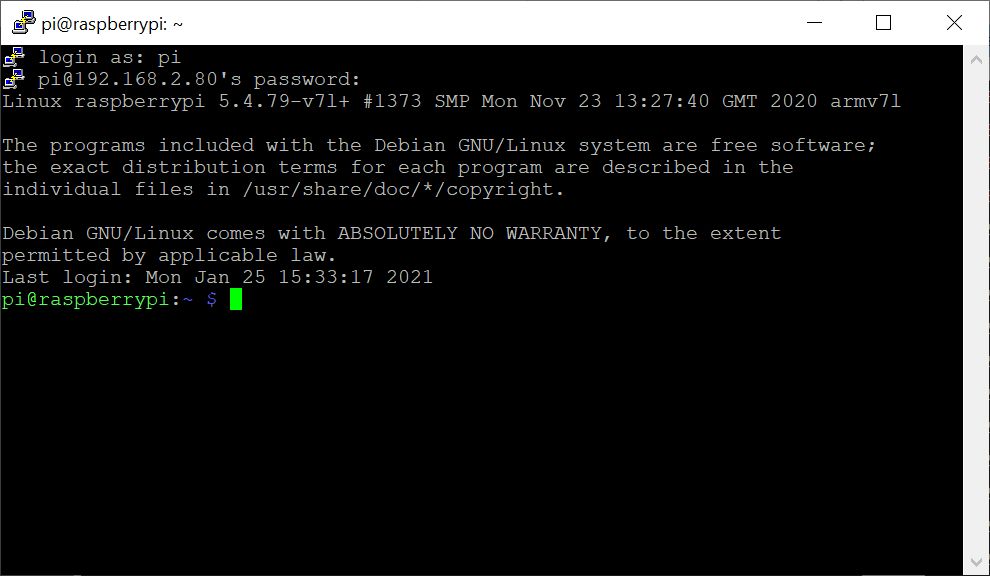
Notice that this is a Linux 5 kernel. This is important mostly for driver’s compatibility or support with the DAC+ADC Pro board. However, we did not face any real issues with our setup.
Our development plan was based on using python tools and machine learning for fast prototyping. We based our classification code on this GitHub repo: seth814/Audio-Classification: Code for YouTube series: Deep Learning for Audio Classification (github.com)
Python can get messy with packages and proper system configurations. Note that the Raspberry Pi image comes with both Python2 and Python3 interpreters. Writing simple python runs the 2.7 version while running python3 calls the Python 3.x interpreter. Keep this in mind.
In our case, we used the Python3 setup. First, we created a virtual environment to install packages. There are many ways to do the setup. You may try the anaconda system (although the link below for TensorFlow says that this will not work), which will take care of any dependencies and install all the packages, or you can follow on here and see the more tedious manual approach. The idea is to have a system set up in our Raspberry that matches the one we use in our desktop environments to ensure maximum compatibility and help us with testing.
Download the virtualenv package:
$ sudo pip3 install virtualenvThen we can select a directory to do our development and create the virtual environment there:
 $ cd UnderwaterSoundProcessing
 $ virtualenv audioml
 $ cd audioml
 $ source bin/activate
 … do something…
 $ Deactivate
If you check the requirements.txt in the github repo, you will notice a long list of items that must be installed along with their version numbers. If you try the simple command:
$ pip3 install -r requirements.txtYou will fail miserably. The reason is simple. Kapre requires TensorFlow version at least 1.15, but default TensorFlow for Raspberry is 1.14.
TensorFlow 2 cannot be installed by default on RPB Pi4. We followed the instructions from this link:
https://itnext.io/installing-tensorflow-2-3-0-for-raspberry-pi3-4-debian-buster-11447cb31fc4
The above link states two things:
- The script used is on a google drive (check contents, security and stability issue)
- TFLite can provide significant improvements in prediction. You may convert your normal models to Tflite for faster processing. Need to test on each application if accuracy is maintained.
- When installing in venv do not use sudo. In case you did (as I did), reinstall (last step) tensorflow without the sudo. Test that Tensorflow is installed from python before continuing.
- If in python interpreter you are able to import the tensorflow package as stated in the link you are good to go.
For Tensorlow and Numpy packages we install the ATLAS library.
$ sudo apt install libatlas-base-devAnother issue we faced was the LLVM library. Numba 0.48 requires v7 of LLVM and not v9.
 $ sudo apt install llvm-7
 $ LLVM_CONFIG=llvm-config-7 pip3 install llvmlite
Now running the dependencies command should work:
$ pip3 install -r requirements.txt
We run our predict module to see it working. We had already trained previously on a desktop PC the machine learning network to classify a mixture of sea sounds taken in a previous experiment and from the web.
$ python predict.py 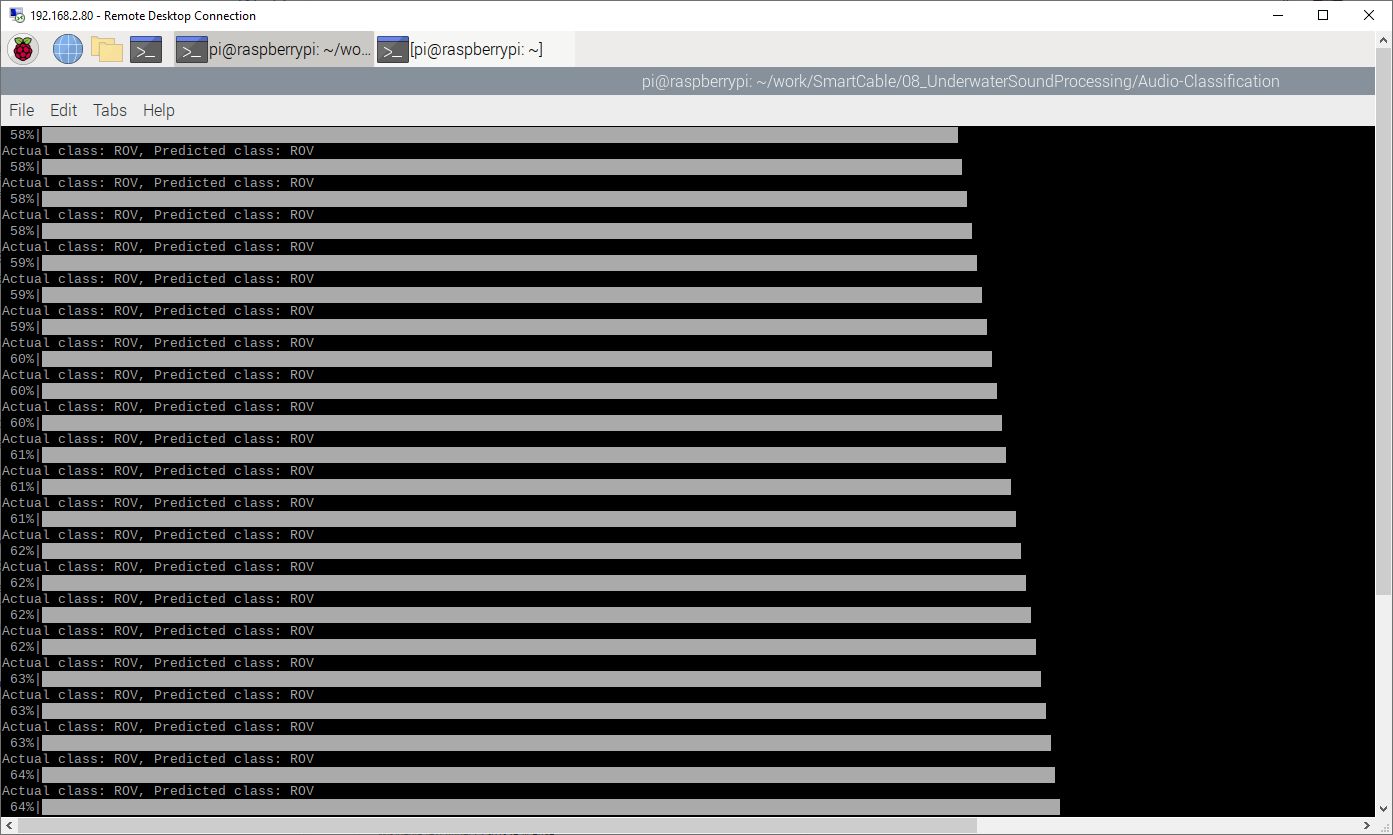
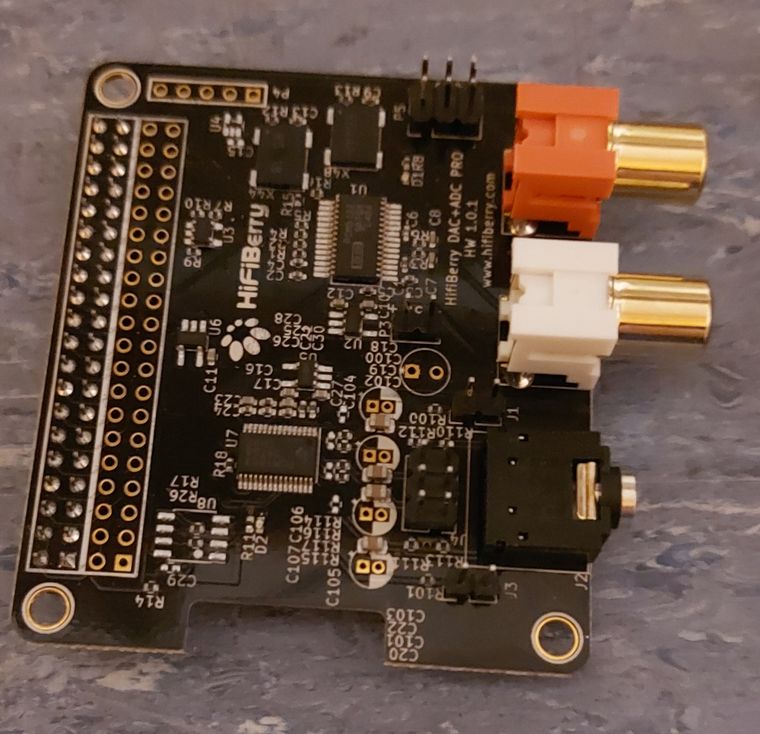
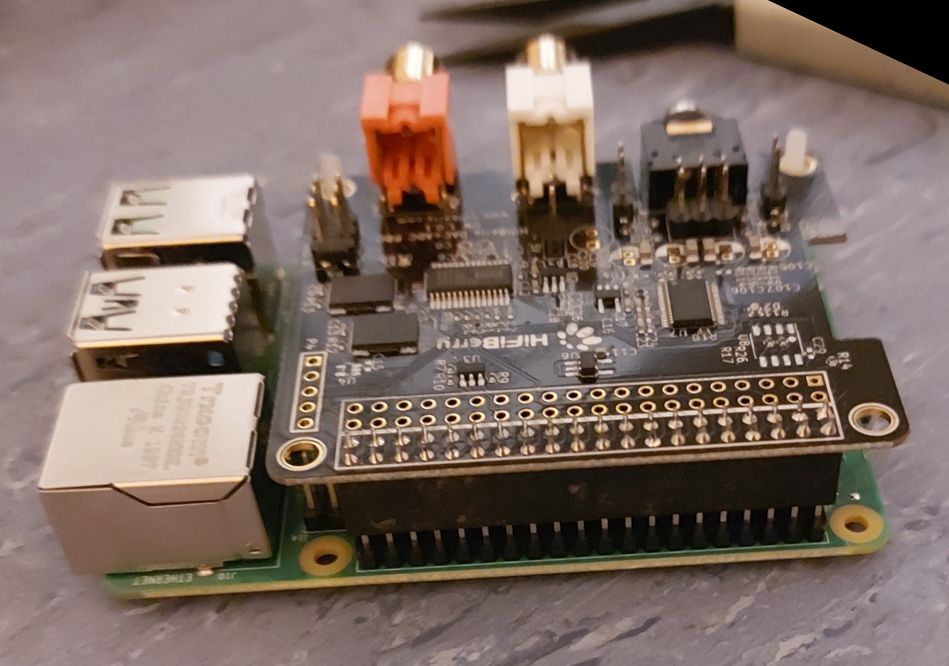
All these are nice, but still where is the hydrophone? Next steps describe the process to properly interface the DAC+ADC Pro module.
We followed the procedures from the manufacturer: Configuring Linux 4.x or higher | HiFiBerry
Although the kernel is 5, we needn’t to do the work-around presented for the EEPROM. First, we tested the playback. Please note that the device is not the default, but rather the sysdefault as seen after the next command.

The following commands will output sound from the left and right channel respectively.
 $ speaker-test -D sysdefault -t sine -f 440 -c 2 -s 1
 $ speaker-test -D sysdefault -t sine -f 440 -c 2 -s  2
Now to test record try the following command for 3 seconds recording, Signed 16, wav format, and show Vumeter.
$ arecord -D sysdefault -r 44100 -d 3 -f S16 -t wav -V mono test.wavYou will notice that the hydrophone signal is very low. This is expected and we need to boost the signal with the following command:
$ amixer -D sysdefault cset name='ADC Capture Volume' 96,96The values of this command are steps between 0 and 104 and will set ADC volume 0.5db/step. So 96 is about 48dB. You may adjust this value to a lower level depending on the sensitivity. A 33dB gain should work just fine. You may retry to record again and observe the VU meter levels.
For python to access the audio device, we installed the ALSA audio:
 $ sudo apt-get install libasound2-dev
 $ pip install pyalsaaudio
To ensure that the same exact code is used either for off-line prediction and on-line prediction, we used a file wrapper in python. The sampling function performs a sampling for a duration (like 1 second) and stores the result in a file. Then the main loop acquires this file and processes it like it does off-line content.
def readdaq(self):
     loops = int(self.sample_dur_seconds * round( (self.fs_Hz / self.chunk) ) )
     frames = []
     sample = np.array(frames)
     while loops > 0:
         loops -= 1
         # Read data from device
         l, data = self.inp.read()
         if l>0:
             if l!= self.chunk:
                 print("Sampling Error ", l)
             frames.append(data)

     wf = wave.open('/mnt/tmpfs/sample.wav', 'wb')
     wf.setnchannels(self.channels)
     wf.setsampwidth(2)
     wf.setframerate(self.fs_Hz)
     wf.writeframes(b''.join(frames))
     wf.close()

     batch = self.readfile('/mnt/tmpfs/sample.wav')

     return batch
Note that the file is saved on a temporary location. This is a ram drive created as follows:
 $ sudo mkdir /mnt/tmpfs
 $ sudo mount -o size=1M -t tmpfs none /mnt/tmpfs
The reason of using a ram drive is that we do not want to wear out our SDcard, or have slow-downs due to file system activity. We use this scratchpad area to write the samples and use them for processing. Then the sample is overwritten by the next sample.
This way we streamline the testing process and are able to run the same code with or without hydrophone, either on desktop, or on Raspberry Pi.
Conclusion
Using open-source software and off-the-shelf hardware we are able to have a platform for sound classification using machine learning. We created a uniform testbed that can be used to test either on-line or off-line the methods employed for evaluation purposes.
Acknowledgment
The SMART Cable was developed through the SMART Cable Project. This project
is part of the Research & Innovation Foundation Framework Programme RESTART
2016-2020 for Research, Technological Development and Innovation and co-funded
by the Republic of Cyprus and the European Regional Development Fund with grant
number ENTERPRISES/0916/0066.
For more information you may visit: SMART Cable :
Cyprus Subsea Consulting & Services (cyprus-subsea.com)
This project is also part of the MARI-Sense Project INTEGRATED/0918/0032. The MARI-Sense project develops intelligent systems that allow human operators to make sense of the complex maritime environment for applications including transport and shipping, coastal tourism, search and rescue, and maritime spatial planning.